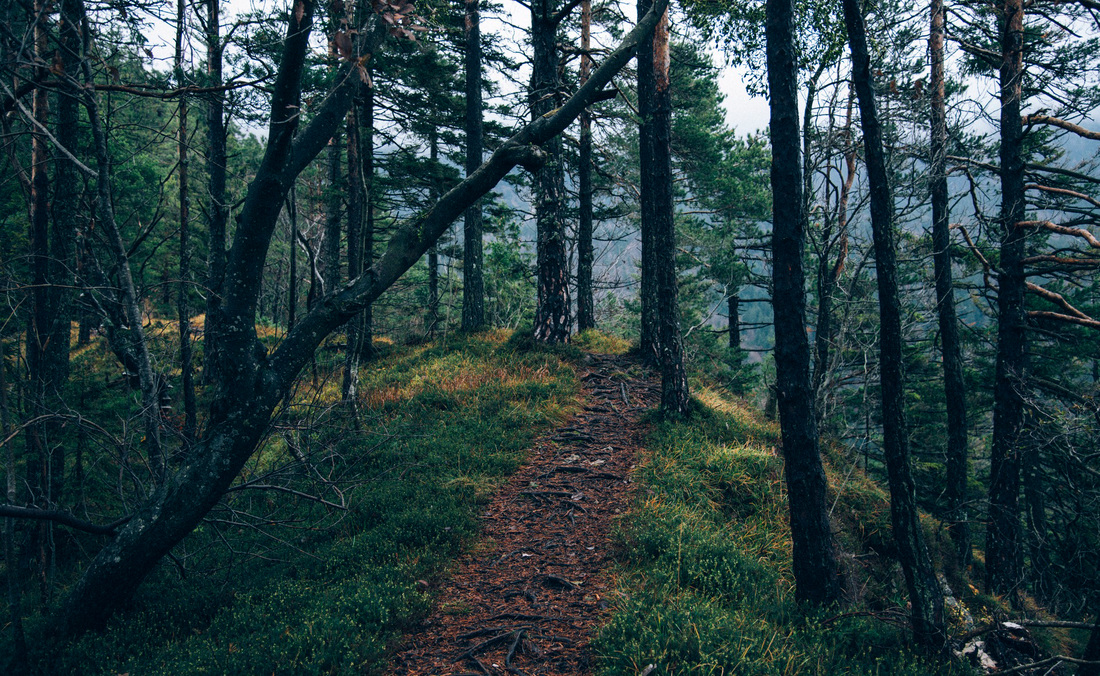
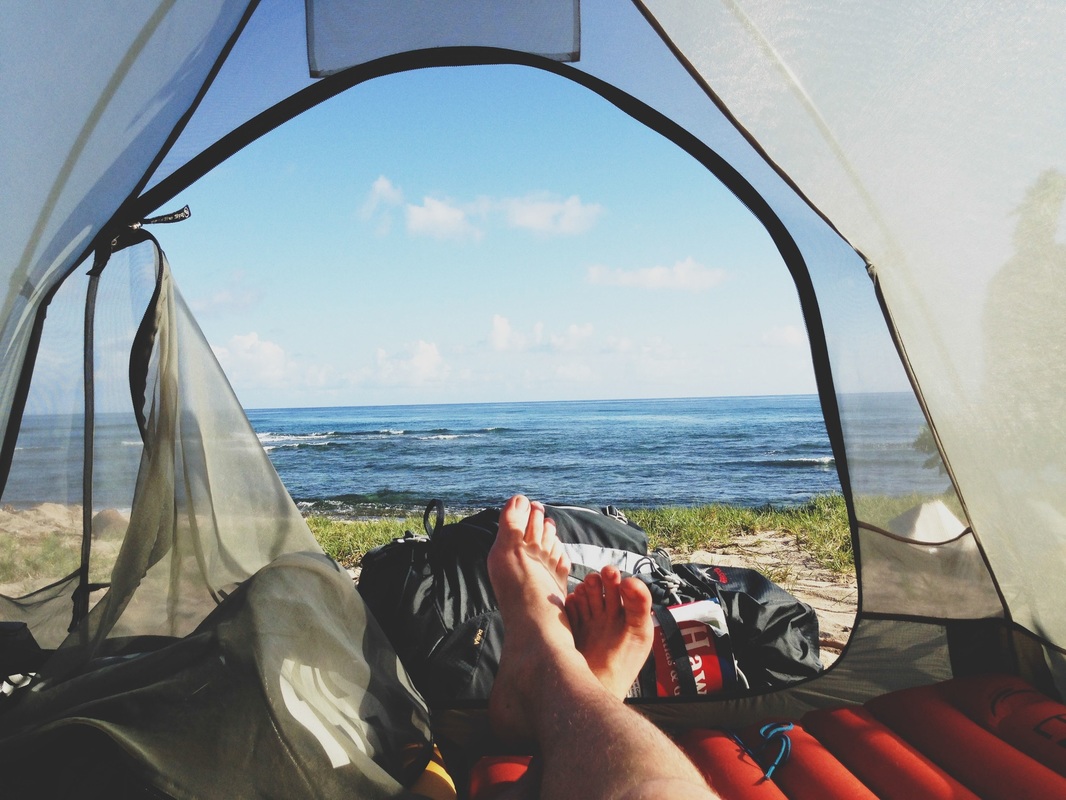
I'm James. This is my year of travel.

|
This will all be done by adding several layer styles to the text, starting with the Bevel & Emboss layer style to round out the text. Then you can add the glow and the gradient around the text. To create this look, you need to add dimension to the text. To create the glow, the text should look like bulbs or tubes that the glow is coming from. Then, make sure the Text Glow layer is selected before moving on. Rename the copied layer to something like Text Glow by double-clicking on the layer name. The last step to preparing your layers is to hide the original text layer by unchecking the box with the eye icon. The layer will now have the Smart Object icon on the thumbnail. Now working on the copied layer, right-click (Win) or Control + click (Mac) your text layer and select Convert to Smart Object in the menu that appears. To do this, duplicate the text layer by dragging the layer to the New Layer icon at the bottom of the Layers panel or press Control + J (Win) or Command + J (Mac). Next, prepare the text layer for the effects that will create the neon glow. You will now have the text on the image in the correct size and color. Select the checkmark once you have changed the text settings.
0 Comments
Leave a Reply. |
AuthorWrite something about yourself. No need to be fancy, just an overview. ArchivesCategories |


 RSS Feed
